Food for the garden birds is rather pricey. Certainly not the tuppence-a-bag of the song from Mary Poppins. Admittedly, the bags you buy are a lot more heavily laden with various seeds and grains.
Anyway, discussion is ongoing in my Wild Fen Edge group about when to feed garden birds, so here are some thoughts.
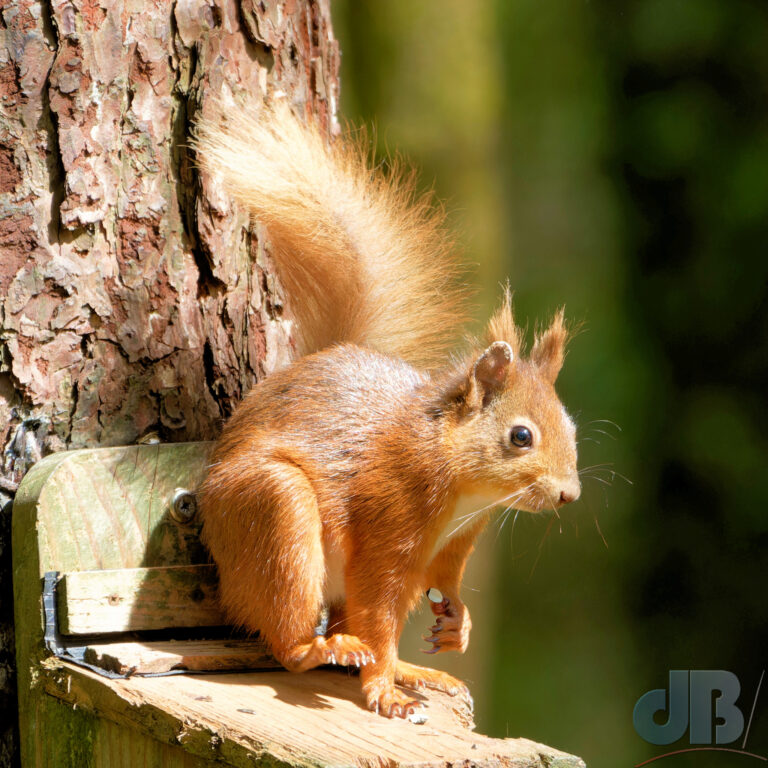
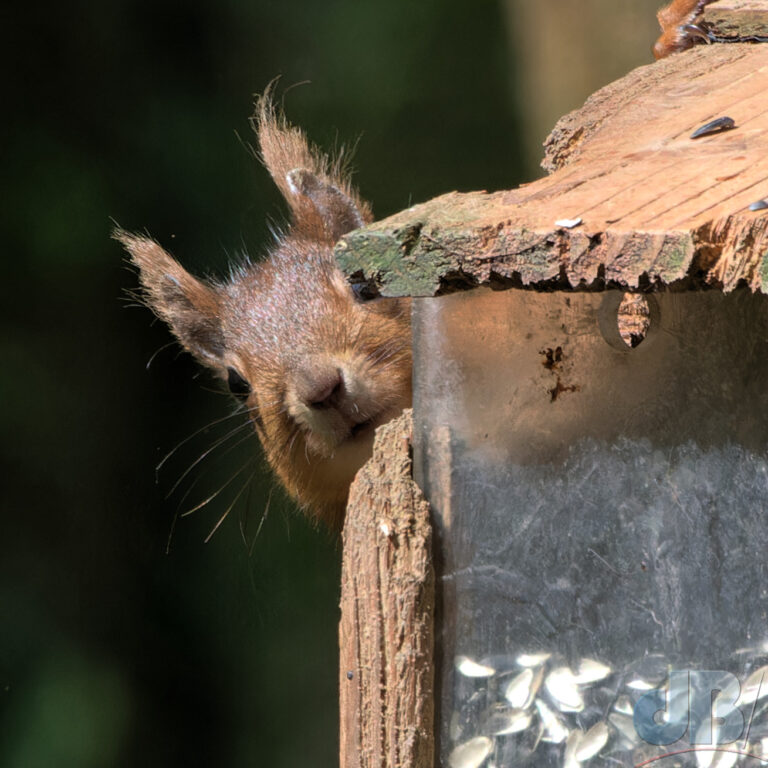
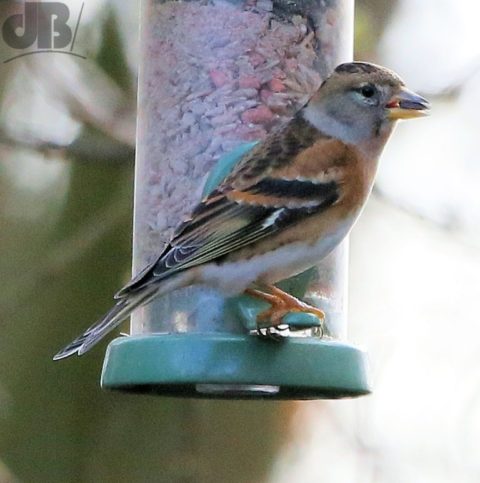
Birds need to eat all year round. So, I put food out all the time – mixed seed peanuts, nyjer seeds, fat balls, flutter butter. Different places in the garden, different heights if possible, near obvious perching points, higher than cat access, some out in the open. Also, not too many feeders close together to avoid disease. Feeders should be emptied and cleaned thoroughly with detergent on a regular basis.
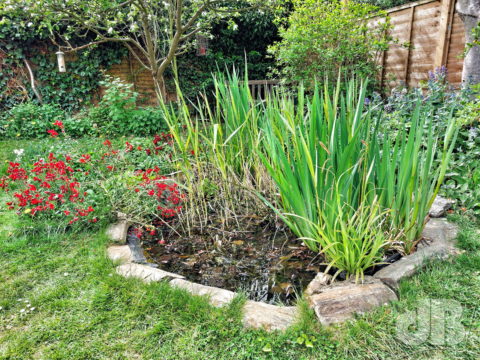
I also have a couple of bird baths of different sizes (one on the ground, one on a stand) and a pond for their drinking and bathing. Birdbath water needs to be changed frequently as the birds commonly add droppings.
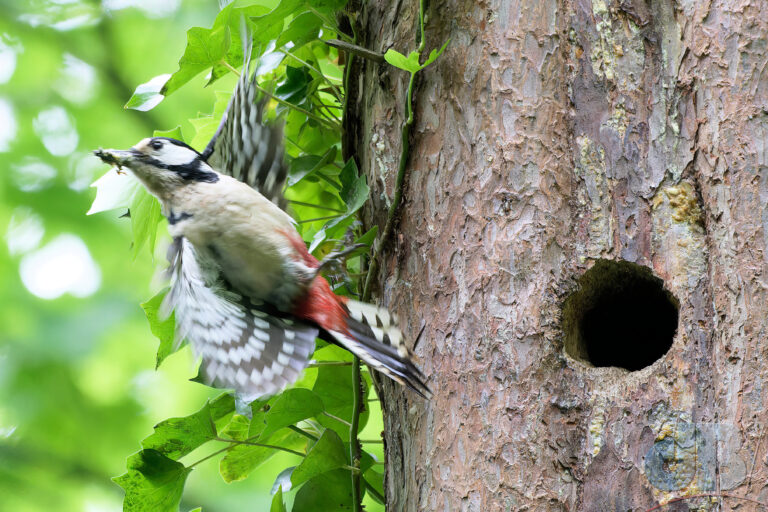
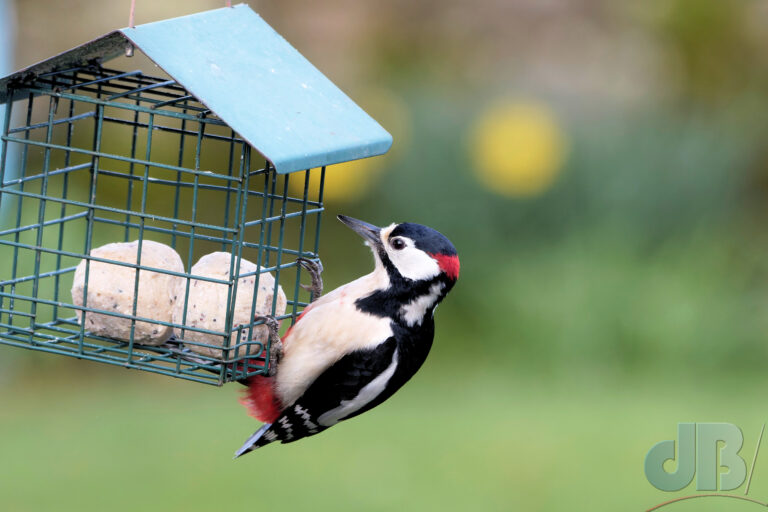
I have written about attracting birds to your garden previously, so check out that for more tips and tricks. I’ve seen at least a couple of dozen species in our garden over the years, including the common birds, but also the likes of Grey Heron, Great Spotted Woodpecker, Fieldfare, Redwing, Chiffchaff etc.
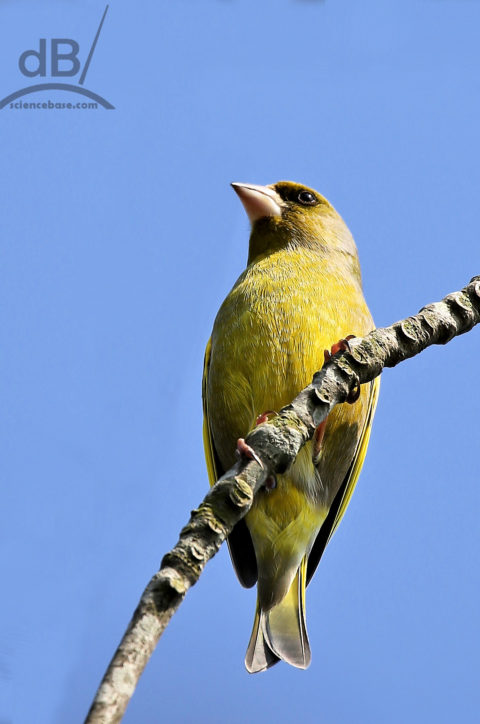
An additional point about gardens, native wildflowers are great for insects and so the insectivorous birds. Leave your garden a bit scruffy. Let a few weeds sprout. Create some wild patches, don’t have gravel and lawn throughout and never, ever, ever put down astroturf, you Philistine! Let standing stems go to seed at the end of summer and don’t prune them back until they begin to rot or the birds have emptied them of seed. Stick to #NoMowMay and let it run into June. Also, do #NoPruneJune and basically avoid being overly tidy with your garden. The more scruffy bits, overgrown, weedy, diverse, the more chance of attracting and keeping invertebrates and birds. Let your bushes and ivy produce their berries, these will feed Blackbirds and the like in the winter. They might even attract Fieldfares and Redwings…maybe even Waxwings, if you Rowan (Mountain Ash).
The natural approach is perhaps best and maybe not even putting out food should be the way to go. But, there are two arguments about feeding garden birds one for and one against
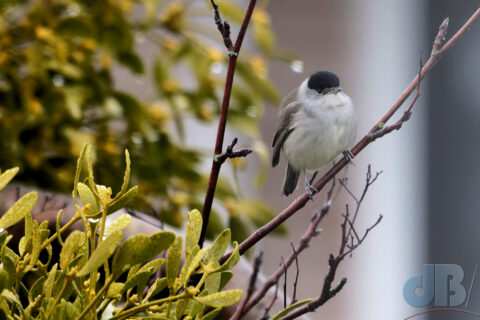
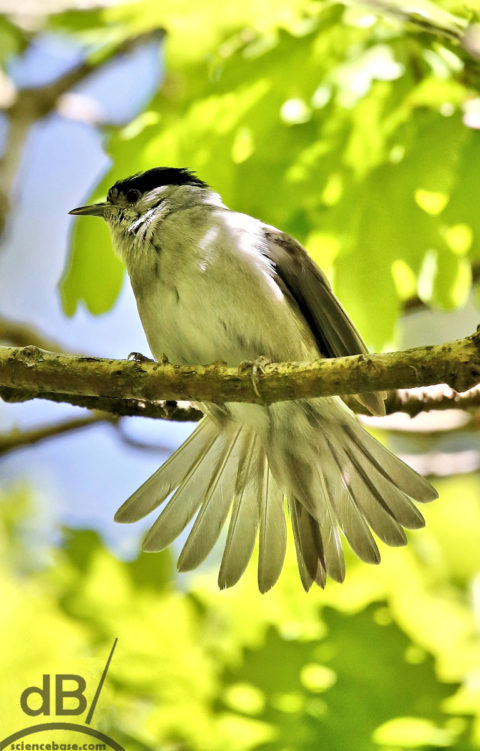
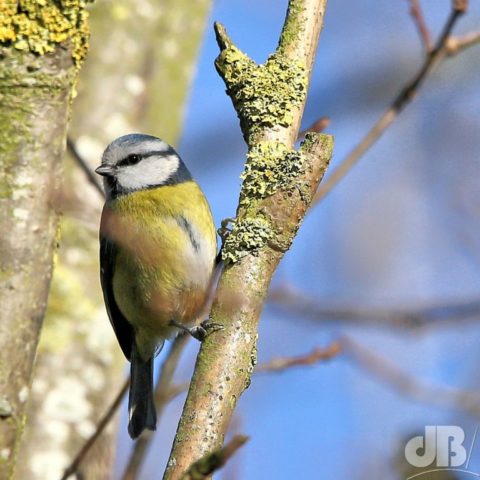
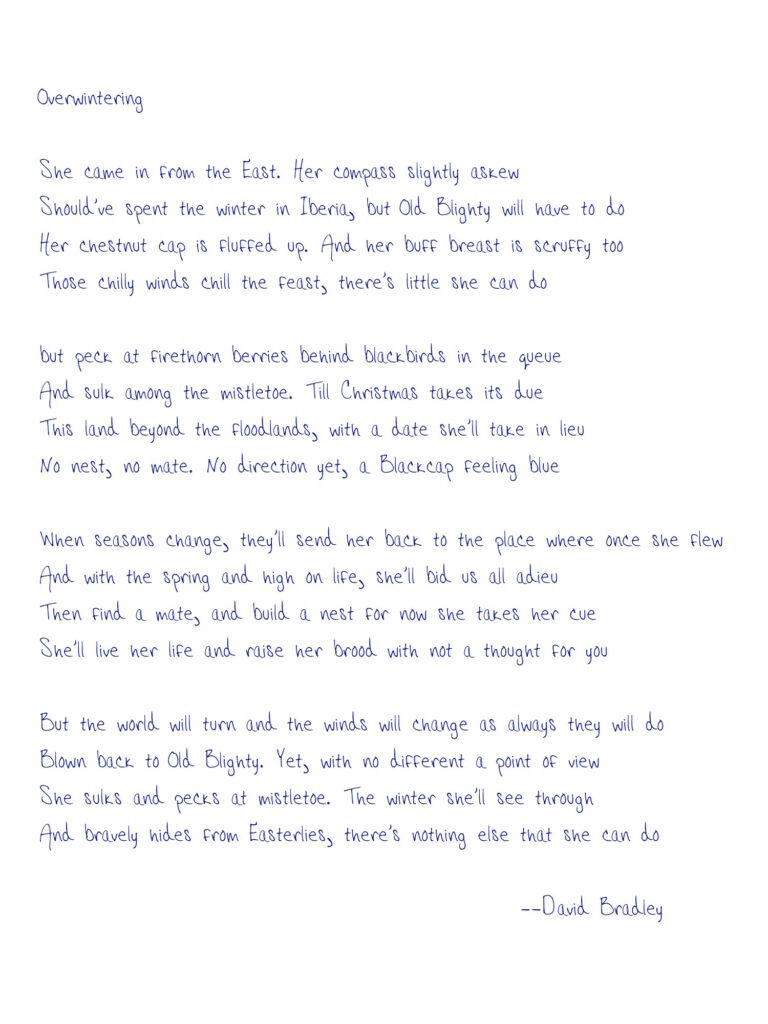
The first says we shouldn’t really do it at all, as it brings birds together and can spread disease. Garden feeding can alter behaviour in terms of how birds feed so that some might become reliant on feeders rather than seeking out natural sources of food. There are also issues with the numbers of chicks Blue Tits and some other species are raising and out-competing other local species because they have adopted feeder feeding quite vigorously. Feeders are even thought to have altered migration patterns, viz the over-wintering Blackcaps we now commonly see in English gardens.
The second school of thought suggests that because we have removed the birds’ natural habitats and reduced greatly the numbers of insects on which they would feed through agriculture and development, we need to provide them with alternative habitation and food all year round. Our gardens can offer that.
So, personally, I feed all year round with a few caveats. Such as if I spot an obviously diseased or dead bird in the garden, I’ll remove all feeders, empty them into the bin and give them a good scrub in hot water with detergent. I’ll dry them and put them away for a couple of weeks, to dehabituate the birds to my garden for a while. It’s also a good idea to remove feeders if you see rats. Although rats are perhaps more attracted by bread and meat scraps or cheese. These are not the best choice for bird food anyway, so best not to put those out on bird tables or in feeders.
