To find your doppelgänger in an art gallery, download the Google iPhone or Android app Arts & Culture. If you’re not in the US, you might have to use a VPN to pretend you are. Scroll down to the “Search with your selfie” section, tap “Get Started”…take the requisite selfie and let the app do its work. It will pull back several portraits from the world’s art galleries and museums that it thinks you resemble in your selfie.
Apparently, my selfie resembles portraits of Jan Bart, Sir Wyndham Natchbull-Whyndham, Karel Stuart, Jacobus Frans Eduard, Lodewijk XVI, and William Russell, 1st Duke of Bedford…and not Russ Abbott, Jasper Carrott, nor Sir Bruce Forsyth, thank you very much Mick Snell. To be honest, I can’t understand why the app didn’t bring up portraits of Bruce Willis, Woody Harrelson, Mark Strong, or even Jason Statham…yeah, I know what it is…eye colour…nothing else…haha.
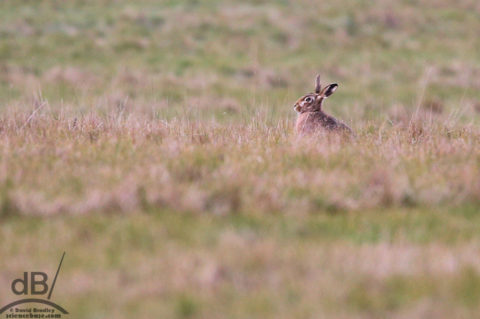
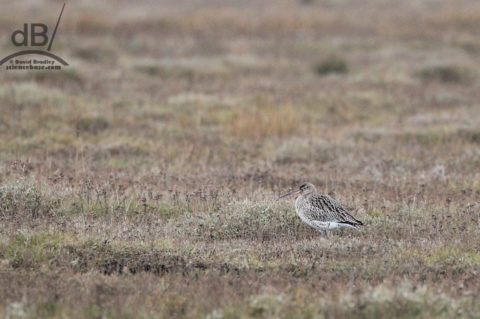
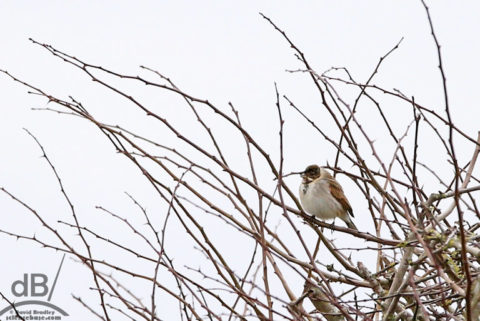
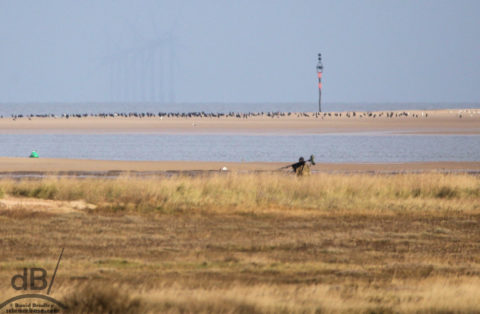
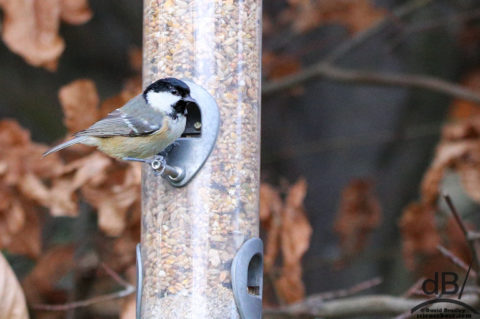
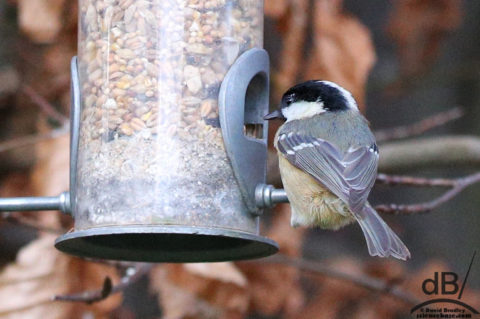
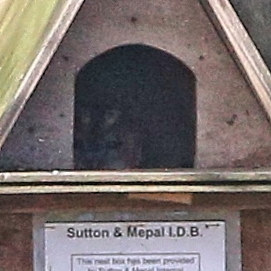
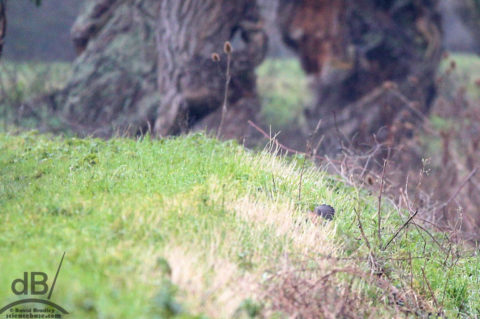
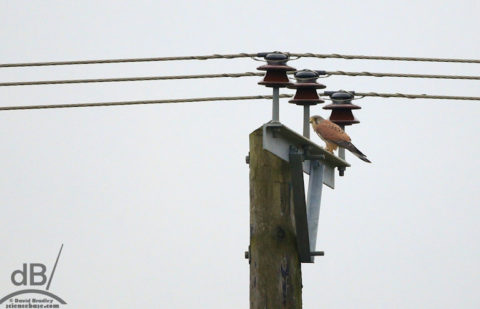
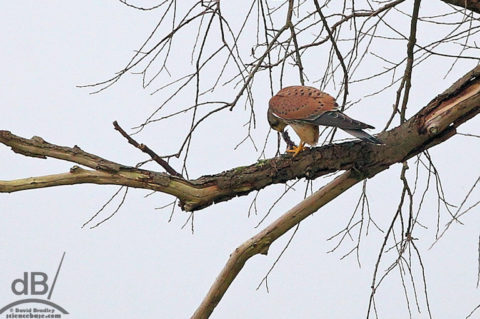
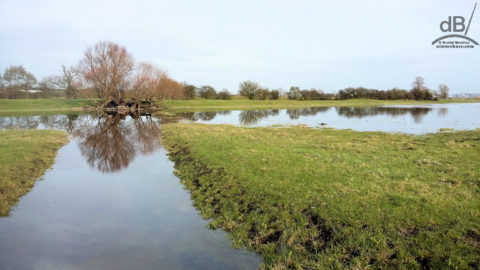
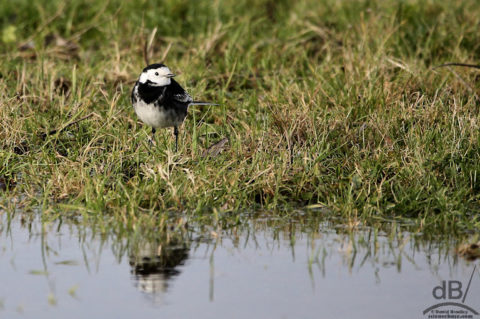
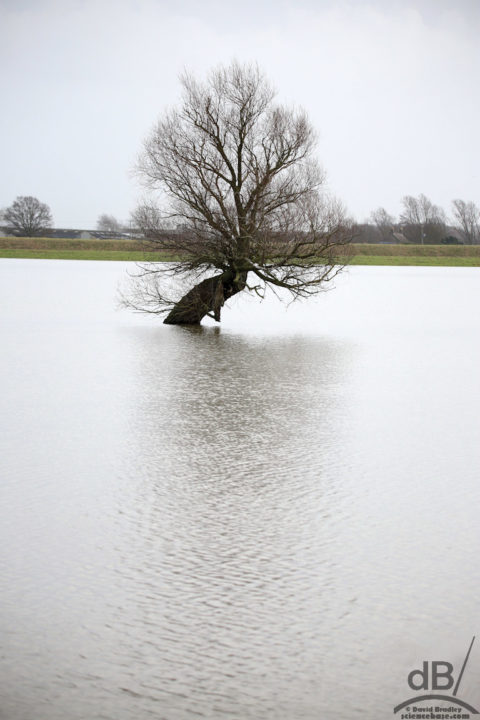
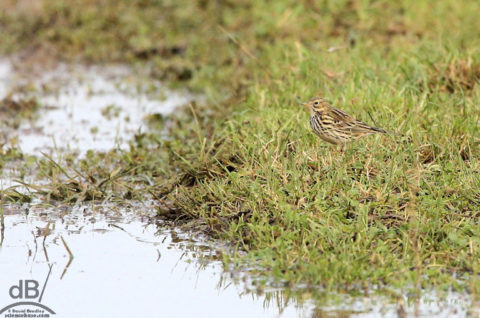
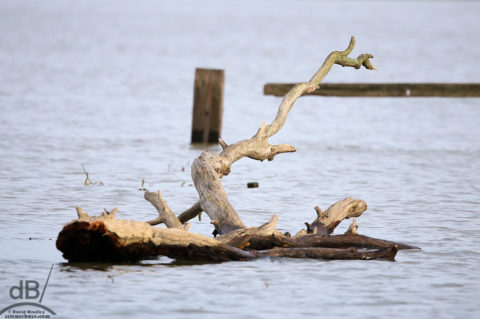
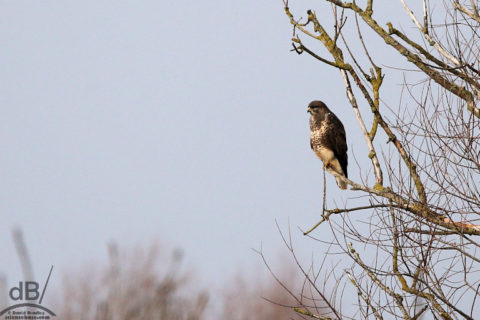
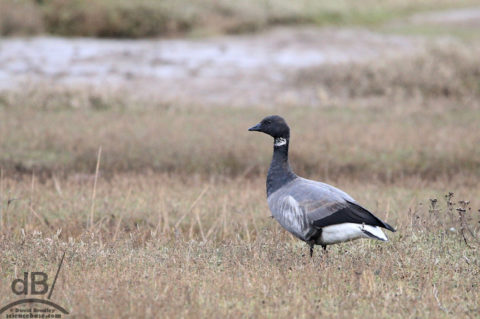 Lots of Curlew (Numenius arquata), Redshank, Little Egret, occasional Skylark, possibly Meadow Pipit, Blue and Long-tailed Tit, Linnet, Wigeon, Chaffinch, Mallard, Teal, Black-tailed Godwit (on floodwater further inland).