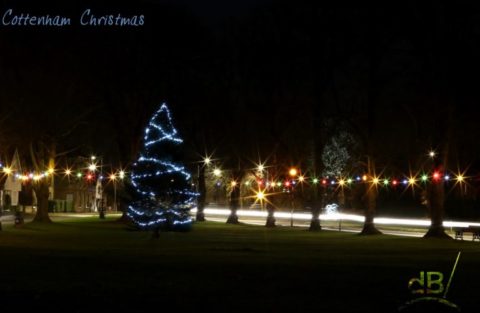
UPDATE: 1st December 2024:
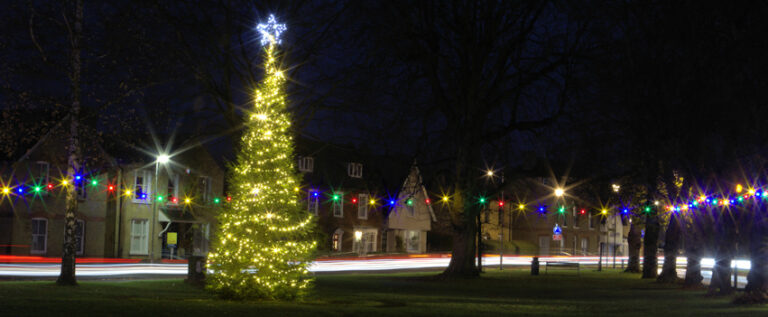
2023:
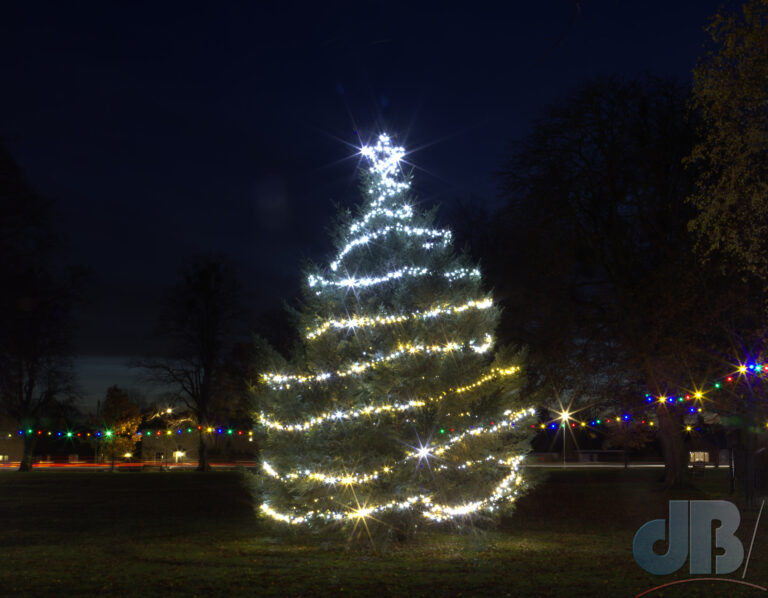
UPDATED December 2022, signed with my dB/ logo using my phone flash to create a light trail during the 30-second exposure.
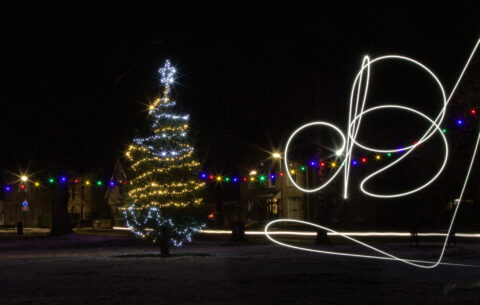
2021:
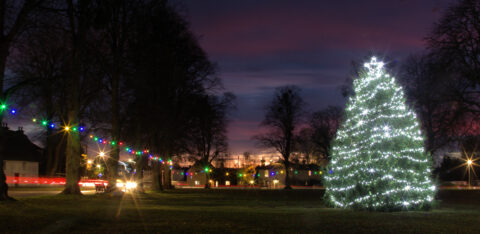
2020:
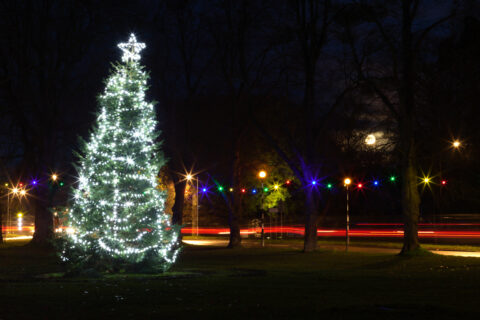
2019:
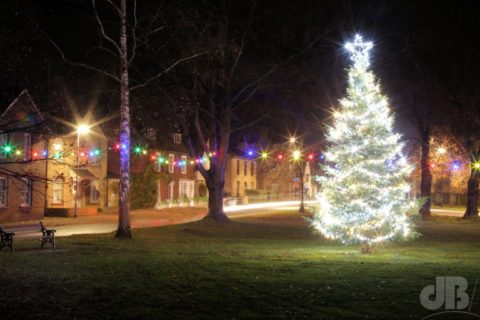
2018:
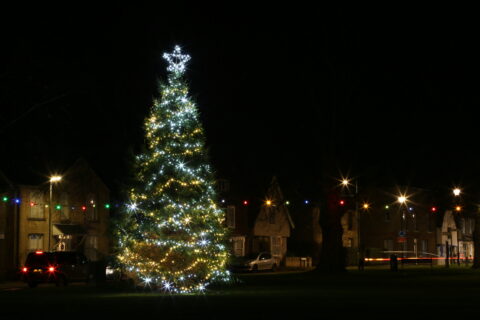
The important point in getting the starburst effect is to use as small an aperture as possible. So, this was f/22 on my Canon 6D. ISO was kept low (around 500) to avoid noise, but that meant the shutter needed to be open a long (30 seconds) to allow enough light in to capture the image, which means you need a steady tripod and a timed shutter release (or remote shutter release) to avoid blur from camera shake.
I snapped a few night-time shots of the Christmas tree and lights on our village green this weekend. I did a few “pulling” the zoom with a fairly low shutter speed so that I got some nice drawn out light effects from the tree and the Xmas lights encircling The Green in Cottenham.
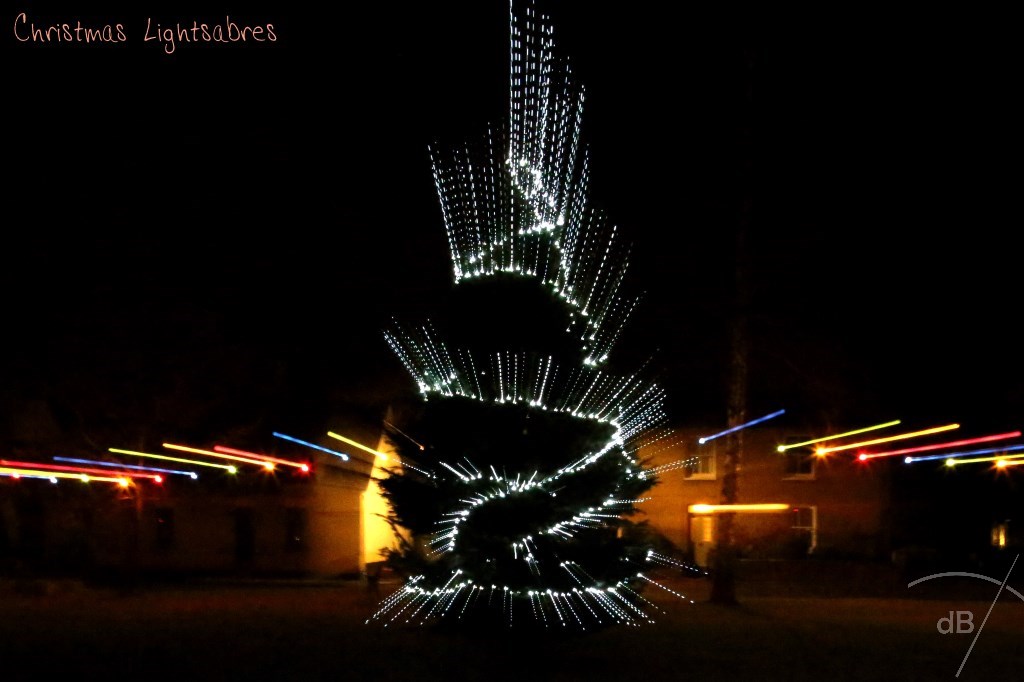
Having seen the starburst lighting effect in a fellow photographer’s photo of the same scene, however, I thought I’d grab my tripod and have a go at reproducing that effect too. I didn’t want to copy their composition so had to duck and dive about, avoiding the odd looks from dog walkers on The Green and Christmas shoppers jumping off the city bus.
The starburst effect is not a filter nor an app nor any Photoshop trickery. As with much in photography (even digital) it is a scientific phenomenon. The formation of the starbursts where lights are bright in the photograph is down to diffraction of light around the edges of the fins that make up the camera’s “iris”, the aperture.
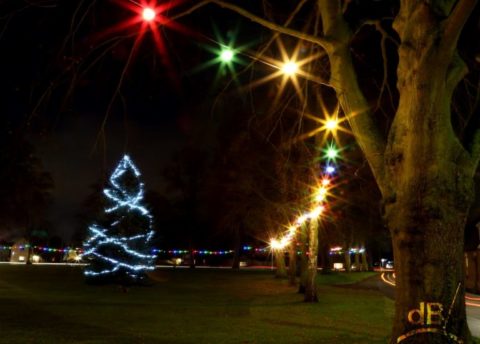
You can just see the red rear lights of a car that passed as I was taking the photo (around the tree on the right-hand side). The light trails from cars and buses were much more sensational in some of the other shots, especially ones I took looking towards Cottenham Village College. One in particular embedded the College’s steel sculpture and looks like some kind of futuristic biker racing past.
